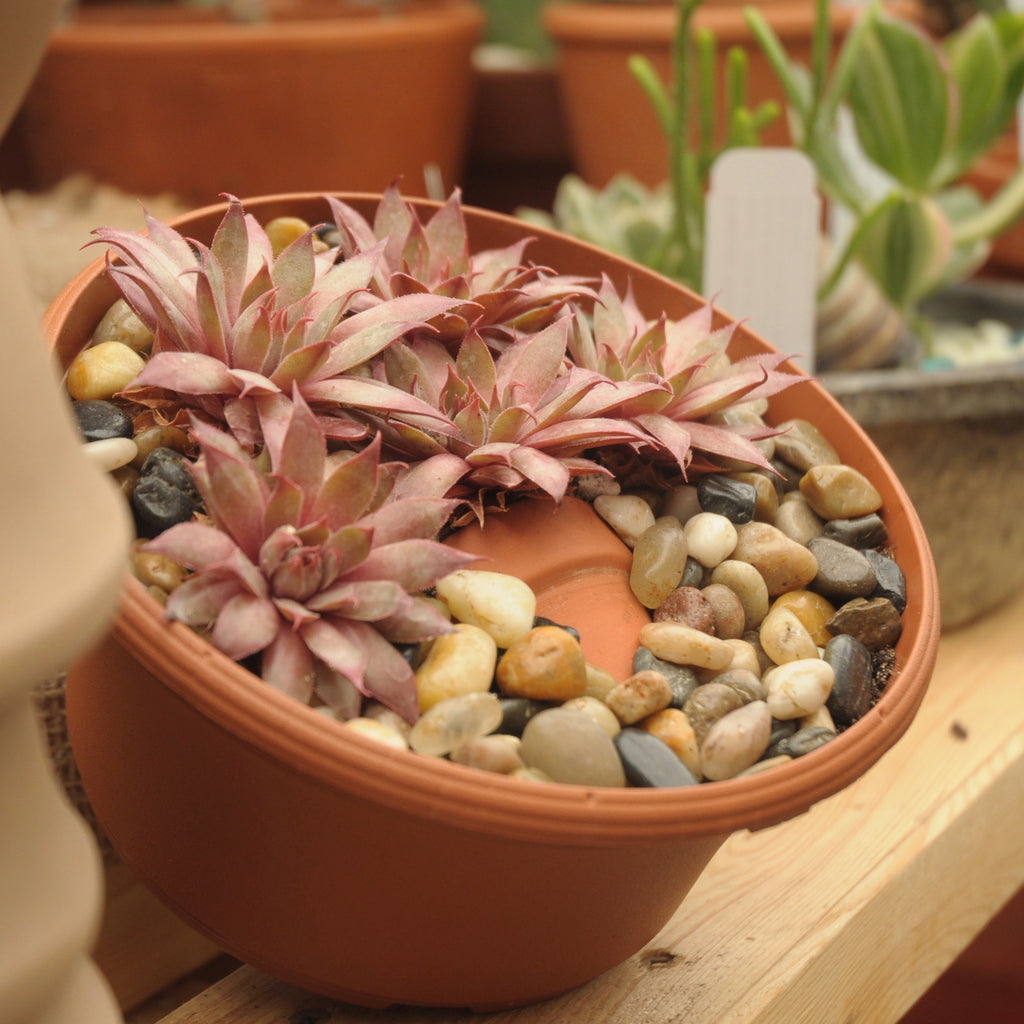
 One of our staff members - Joyce - led us through an easy and inexpensive succulent planter project. It looks awesome, and can be adapted to many types of pots and succulent varieties. In our case, we used hens and chicks, planted into 6" shallow pots. Our staff had fun making these, and we thought it would be neat to share our little project with all of you!
Materials required:
- 6" shallow container with drainage (can be plastic or terra cotta, or anything else that inspires you... so long as you have drainage)
- Succulent soil (we mix our own organic cacti soil: 1/3 vermiculite / 1/3 sand / 1/3 Sea Soil compost)
- 2.5" terra cotta pot
- 6 - 8 succulent divisions (we have 6" pots of hens and chicks that have 5 - 9 individual succulents in them, which are very affordable)
Step 1
Fill the larger planter with the soil mix, almost to the rim. Do leave enough room to add decorative stones.

Step 2
Install the smaller terra cotta pot in the middle of the soil, to a depth that keeps it secure but allows one side of it to be visible.

Step 3
Arrange your succulents as you would like them to grow. Once things are laid out the way you want, plant each being sure to gently open the roots to encourage them to spread into their new space.

Step 4
Add your decorative rock. Tuck the rocks in all around the succulents and to the rim of the container. Other materials that could be used to accent the planter include beach glass, semi-precious stones, shells, moss, small pieces of drift wood, figurines and what ever else inspires you!


Viola! Your masterpiece is complete. Generally succulents prefer a sunny location, and most succulents can be brought indoors for year round enjoyment. We used a hardy selection (hens and chicks / Sempervivum), but in such small pots these would not likely survive outdoors unless the pot is tucked-in under a good pile of leaves.

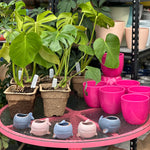
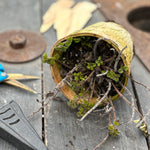
Here are some variations:


