Winter Greens Seeds - Dill, Bouquet
$5.99

This item may be out of season or currently out of stock. Please check back.
Pack Size: (~500 seeds per pack). Grow up to ten x 15 cm (6") pots trays from each pack.
Description: Organic seeds for growing herbs indoors through winter. Dill has a strong summery feel to it, which makes it all the more fun to grow in your winter garden indoors!
Organically Grown/ Open Pollinated/ Non-GM
Easy steps for growing Green Sleeves Dill greens indoors through winter:
- Dill grows most productively under full spectrum (6400K) grow lights. Grow lights should be maintained 6 - 12” above plant tops and should be on 16 - 18 hours per day.
- During the months where daylight-hours are low Dill can be grown in a very sunny window - but productivity goes way up under full-spectrum lights.
- Dill grows very well in shallow containers with drainage. We often use short 15 cm (6") pots or 10" x 20” trays. Other ideas include recycled clam shells from store-bought greens or recycled flower pots.
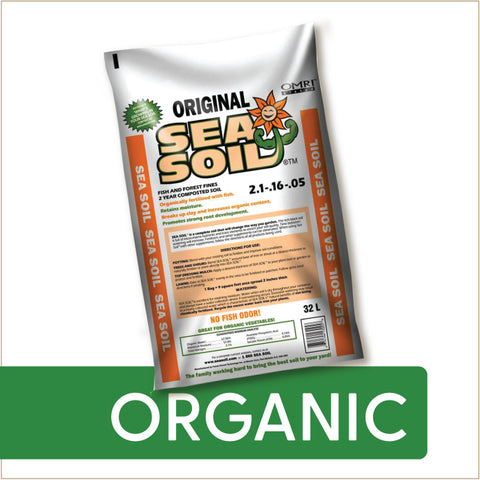
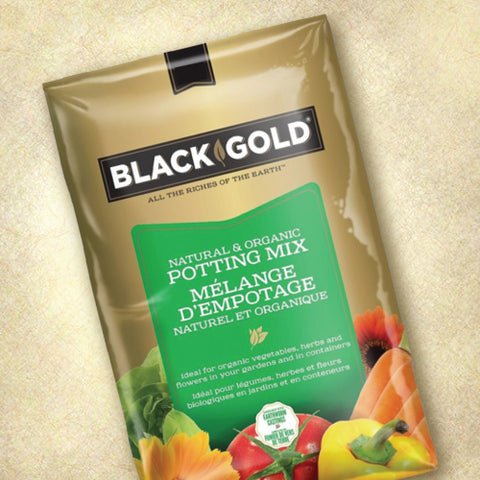
- For completely easy indoor herbs use a composty soil. We use an organic potting mix blended with Sea Soil compost at a 60 / 40 ratio. By building in high-quality compost you can avoid any need for additional fertilizing.
- Dill takes 3 - 5 days to germinate. The ideal temperature for germination is 18º - 21ºC; bottom heat will speed up germination and encourage faster seedling development. Dill generally does best where conditions are warm.
- Wet your soil medium before sowing then sprinkle seeds onto soil surface at approximately 65 seeds per 8" x 8” tray. Press seeds gently into soil surface and spritz (or carefully water) to fully moisten.
- Check on seeds every few days to notice when they are starting to germinate. Maintain soil moisture without allowing the mix to be soggy.
Sowing for Spring/ Outdoor Growing:
- Germination: 3 - 7 days at 21ºC
- When to Sow: 4 weeks before average last frost date indoors, or direct seed outdoors starting in early June
- Starter Pots: 7.5 cm (3”) starter pots
- Soil: Well draining seed starting mix with worm castings
- Number of Seeds Per Pot: 5 - 8 seeds per starter pot, pressed lightly into moistened soil
- Where to Start: Place pots in the brightest window, or under full spectrum grow lights
- Watering: Water deeply, then allow soil to dry to the touch between waterings
- Transplanting: Transplant to outdoors in early June, once all chance of frost has passed and the ground has warmed up
Additional Tips for Indoor Growing:
- Great air circulation around your indoor garden makes everything better! If you are growing lots of plants indoors consider adding a small fan to your set-up.
- If using humidity domes over your trays: be sure to leave these off for at least one hour per day to allow for air circulation.
- Pests rarely occur on baby greens but it is a good idea to clean pots/trays with warm soapy water (or 10% bleach solution) between crops and generally keep your growing area tidy.
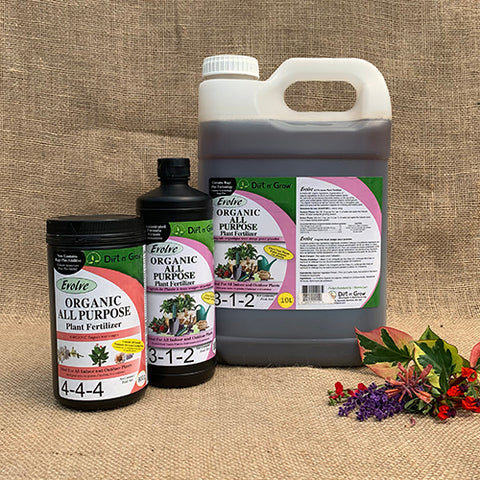
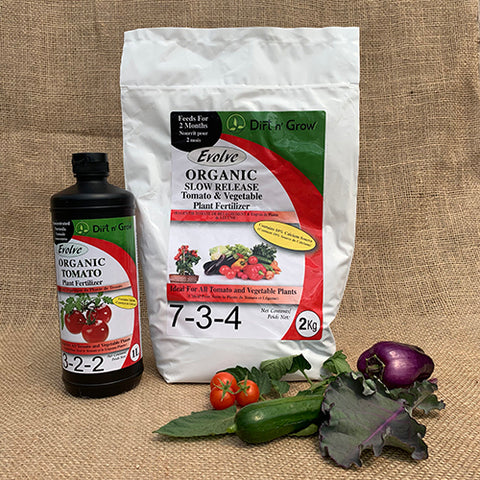
- Crops that are grown to larger than baby green size will likely require fertilizing for best productivity; we recommend Evolve Organic All-Purpose Fertilizer for our indoor gardens.
Harvesting Tips:
- Harvest greens by up to 50% with each cut.
- Use sharp scissors to cut your greens - this helps plants regrow more quickly after harvest.
- The beauty of growing your own greens is that you can harvest just what you need when you need it!