Okay, the winter of 2021/2022 has proven why Winnipeg is so often dubbed "Winterpeg"! It has actually been quite a few years since we've seen this much snow and persistent extreme cold, leaving many gardeners longing for spring. So, I thought this might be a good opportunity to lean in and talk about a technique for germinating cold-climate perennials that leverages just the things we have in abundance: snow and cold.
As a backdrop to this project, it helps to remember that in nature, cold-climate perennials produce seeds that mature in fall, disperse as the snow flies, and spend the winter exposed to extreme cold and snow cover. These plants have evolved to use the cues and conditions naturally present in cold regions to regulate seed dormancy and germination - so it is very helpful to recreate these conditions when germinating perennial seeds as a home gardener (indeed, many perennials will not germinate well unless they are given appropriate cold treatment and fail when "coddled" indoors!).
Knowing that perennials can be tricky to germinate can be a barrier for gardeners, who are more often used to the quick satisfaction that comes from germinating annual herbs, veggies and flowers. However, there are many good reasons to start perennials from seed, particularly once you learn how to use the naturally occurring cold to your advantage. For example, it is next to impossible to find commercially grown perennials that are organic, yet as a home gardener you can go sustainable with certified organic seeds, organic soil, no chemicals during growing-on and a much-reduced carbon footprint for the finished plants. Furthermore, there are significant cost-savings when growing your own perennials, awesome when you love to fill your gardens! Last but not least, the technique described here allows your home-grown plants to be fully hardened off and frost-proof in early spring, unlike greenhouse-grown perennials.
Getting started
Although this project requires cold conditions to work its magic, most of the prep is done indoors in whatever cozy place you enjoy doing plant-y activities. Yay, little freezing of fingers required! It does get a little messy, mixing up soil and getting it into the plug tray(s), but this is easily managed by using a tote or bin to contain everything.
The materials required for this project include:
-
At least one heavy-duty 1020 nursery flat with drainage holes
-
A plug tray that fits into each 1020 flat, preferably with deep-channelled cells that encourage strong root development and allow plants to stay in the same space until transplanted to the garden
-
An open 1020 "web" flat to match each 1020 flat and plug tray
-
Organic seed starting soil (enough to fill however many trays you are sowing); we use a mix with 75% potting mix and 25% compost
-
A pencil & plastic plant markers
-
Larger, heavy-duty elastic bands (two for each plug tray you sow)

There are many possible perennial seeds ideally suited to snow-sowing, but here are a few categories and examples that I love:
-
Hardy herbs like Munstead lavender, chives, lemon balm or wild bergamot
-
Perennial flowers like Maltese Cross or milkweed

If you are unsure if other seeds you have on hand are well suited to cold sowing, look for any special instructions on packs such as a requirement for "stratification" (means exposure to cold) or if the zone hardiness of the plant is zone 4 or lower. Almost all seeds that require cold treatment are perennials, but some hardy annuals such as calendula or poppies also respond to a strong cold cycle (although poppies don't do well sown into plug trays, so better to scatter onto the garden in fall or early spring).
Preparing your tray(s)
The first step is to pre-moisten your soil. Moist soil makes it easier to create effective "dibbles", which will be explained a little later, and also improves the initial occurrence of seed-to-soil contact when you drop your seeds into the plug cells. Seed-to-soil contact is very important to germination, so we want to know that seeds have "stuck" to the soil. I also find that it can be hard to fully hydrate dry soil in plug cells, so starting with moist soils eliminates this problem. Just wet the soil enough to make it moist, and then turn it over with your hands to distribute the moisture evenly.
 Next, take your wetted soil and fill the plug tray cells loosely. The mix should be close to the top but not overflowing above the cells. If necessary, gently tap the tray down onto a table to even out the soil in the cells.

Once the soil is even, create small pokes in the soil using a pencil, one hole per cell. These are technically called "dibbles", into which you will drop your seeds. It is not important to create holes to an exact depth, but try to go no deeper than a 1/4" into the soil. Ideally, each dibble will be centred, one per cell.

Planting the seeds
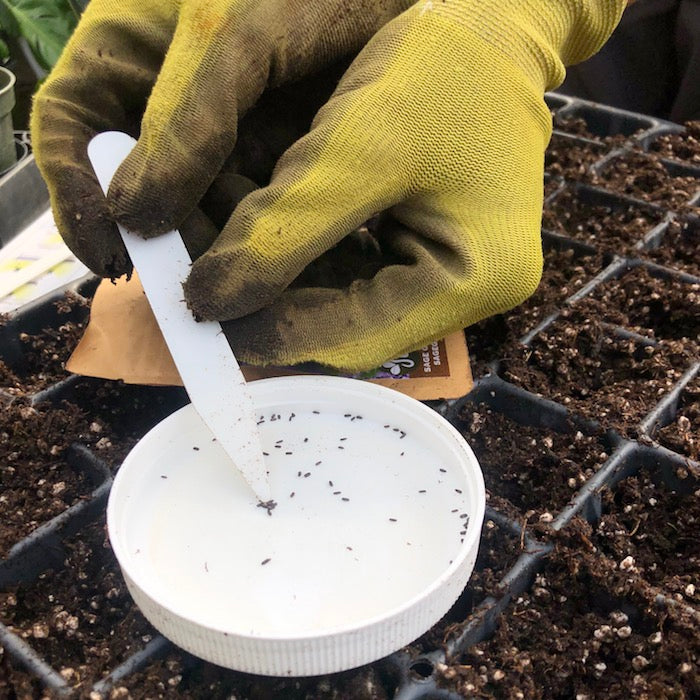
In most cases, perennial seeds are sown three to five seeds per cell, which is quite different from what you may be used to with veggies like tomatoes or peppers, at one seed per cell. The reason for sowing multiple perennial seeds per cell is that these often have slightly lower germination rates vs. annuals, and perennials grow into nice clumps together when several seeds germinate in the same space. At Sage, we usually empty our seeds into a shallow container and then use the pointy end of a plastic plant marker to move the appropriate number of seeds to each plug cell. The seeds can simply be dropped into the prepared dibbles, without any need to backfill or cover (moisture will naturally do this as the soil settles, or thaws later in spring).
After the seeds have been dropped into the soil, you are just about ready to pack everything up and head outside. But before doing so, remember to label your trays, ideally with the name of each seed variety you planted, the date and I often also include the average number of seeds sown in each cell, for each variety. These simple data points help us learn from each experience, and we can adjust some of the details the next time we plant, if necessary.
At Sage Garden, we always use pencil to write on plant labels. It does not fade in the sun, does not wash off or smear when wet but you can still erase the writing if you want to reuse your labels... so much better than even the best indelible markers! For outdoor seeding projects, we do use sturdy plastic plant markers, as they hold up better under wet outdoor conditions.

Heading back outside
Now we are ready to set our trays outside. There is some variation to the ideal period of cold treatment for various perennials, but as I write this in late February, there is lots of time left in our zone 3 climate for the seeds to get the full benefit. For future reference, this project could also be started in November - before winter really starts - as well!
Once outdoors, I recommend laying a sheet of paper towel over the seed tray and then pile a good layer of snow on top of that. The paper towel helps keep everything in place under the snow and the seedlings will easily emerge through the paper towel after the snow melts and germination starts in spring. By the way, contact with snow, and not just cold, can be an important part of the germination process; many perennials use the cue of melting snow after their cold treatment to begin germination.

The last step is to protect the seeding tray from curious animals by turning the webbed 1020 flat upside, covering the snow, and securing with at least two elastic bands. Easy!

The completed trays just need to be tucked somewhere that you will remember them, and also in a space that is not going to get mountains of snow cover. It is a-okay and even important that they get some snow cover, but if buried too deep, germination will be delayed.
One of the coolest things about growing seedlings this way is that you are guaranteed that the resulting plants will be hardened off in spring. In fact, germination may be obvious well before local safe planting out dates and spring frosts will not harm these plants (unlike the exact same plants had they been started indoors or in a greenhouse). As the natural snowmelt does occur, keep an eye on your outdoor nursery; if the soil starts to dry out you will have to water. By contrast, heavy spring rains can saturate the soil and cause seeds to wash out; once the snow is gone and spring is really here, an ideal outdoor location for the trays is under the eves, which provide shelter from downpours.
I hope this different way of thinking about spring seeding opens up new possibilities for your seed starting adventures, saves you some indoor space for warm-loving seedlings and offers a slightly different perspective on what a snowy winter can mean for northern gardeners.
PS. Don't be shy to leave a question or a comment, or share this blog with your cold climate gardening friends!
Check out the companion video...