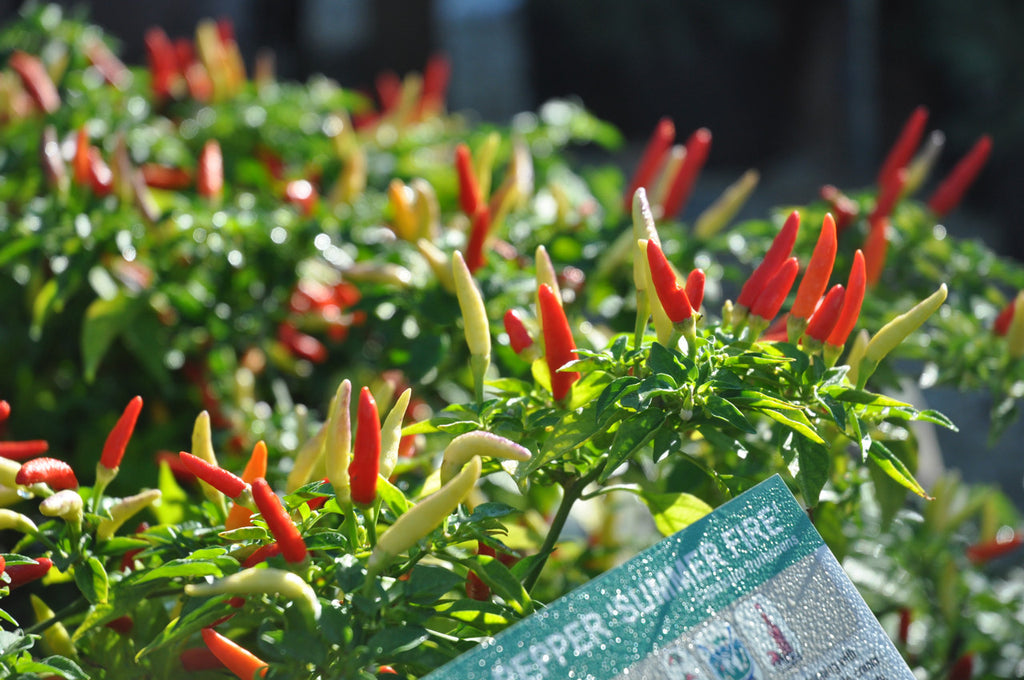
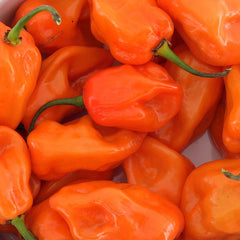
Did you know the International Herb Association plant of the year is peppers? What a great move. Typically we think of peppers from a straightforward, albeit diverse, culinary perspective. But the capsicum that makes hot peppers roar is also renowned as a medicinal agent, with benefits associated with digestion and a variety of stomach complaints. On top of all that, the spice aspect of hot peppers is well known to help preserve foods, stimulate metabolism and also provide anti-inflammatory benefits... not to mention inspire serious Youtube “sweat-offs” among those willing to taste-test the hottest of the hot.
 February is an excellent time to start hot peppers from seed (sweet peppers too). In fact, it is a really good idea to get them germinating as early as possible. Many varieties of peppers require a long growing season to mature - particularly the ultra hot types. Plus, starting early gives you the opportunity to give plants an early pinching back which yields considerably more robust and fruitful plants later on (pinching back can take place once seedlings have several sets of true leaves, by trimming out the main growing tip).
Unlike most veggies grown in northern gardens, hot peppers are really warm climate perennial shrubs and it is helpful to keep this in mind when germinating and growing them up. The seeds require constant warmth and good humidity to get growing, and take anywhere from 7 to 28 days to germinate. Although specialized growing equipment is not required, it can definitely help. A horticultural heat mat is the most effective means to get high germination rates and well developed seedlings for peppers. In lieu of a heat mat, the area on top of the refrigerator is a naturally warm location and may be an effective alternative (don’t forget about the need for brightness too).
Extra warmth and humidity can also be achieved by using a humidity dome of some type. The most popular “gear” to cover seedling trays are the 6” tall clear “mini-greenhouse” humidity domes, which do an excellent job, can be reused many times and often have built in vents to allow for some air circulation. That said, gardeners are famous for being creative, and it also definitely makes sense to use repurposed objects such as salad mix clam shells as DIY humidity enclosures. One thing to keep in mind if using humidity coverings is that plants and soil require fresh air everyday - so regardless of what type of covering goes over the seedlings, be sure it is removed for at least one hour per day.
While warmth is the number one variable that influences germination rates for pepper seeds, an over night pre-soak in warm water is also recommended. A mistake I have made in the past is starting the soak with great intentions of getting to all of my seeds quickly, only to find a couple of days go by without getting everything done; sitting in water for more than about 12 hours can cause the seeds to burst, which is definitely bad! So, keep each batch of seeding realistic. It is also a bit finicky to work with pepper seeds when they are wet, so be prepared to use tweezers to move them into your seedling trays.
For the last couple of years we have added mycorrhizae to our seed pre-soak at Sage Garden, and observe higher rates of germination, more rapid germination, and stronger root development in the seeding trays (we also dunk the seedling trays in a mycorrhizae solution before transplanting). Unfortunately there are not that many options for mycorrhizae products available in Canada, but the well known MYKE for perennials, trees, and shrubs will certainly do.
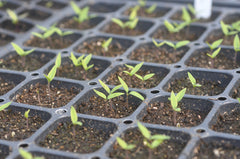
 At Sage Garden we use Black Gold organic soil for most of our germination, a product we like because it has a good texture and worm castings pre-mixed into the medium. Some growers recommend adding up to one third sand to seedling mixes for peppers, since sandy soil is their natural preference. Not something I do, but if you have the sand it makes sense. I always start by adding soil mix to the starter pots or plug trays, then moistening the soil and finally creating a single dibble in the middle of each pot or plug. Typically I drop one to two seeds into each dibble (one for the crazy expensive hot-hot-hot pepper seeds; two for less expensive ones). It does not make sense to sow thick then thin back later - peppers do not like to be disturbed until well established and multiple seedlings (beyond two) just interfere with each other. Not to mention certain speciality pepper seeds are truly pricey. I never worry about measuring how deep the seeds are under the soil, and gently cover over each dibble after all the seeds are in.
On first watering I use kelp supplement (before germination has taken place), which gets repeated every two weeks once plants are established in their seedling trays. No additional fertilizer is applied during the phase between first watering and the second set of true leaves appearing; once the third set of true leaves appear I start alternating between Evolve organic seedling fertilizer and the kelp (one week seedling fertilizer / other week kelp). In the greenhouse plants grow more quickly than they do at home, so fertilizing can be spread out over longer intervals for home gardeners.
Peppers can be successfully raised in bright natural light starting in mid-February, but there is no question they grow faster and more stalky under grow lights. At home I use 54w T5 Full Spectrum Lights mounted between 15 cm and 30 cm above the seedlings. Ideally the lights are on 16 hours and off for 8 hours each day. Lights open up the possibilities for growing peppers year round, and most hot peppers can fruit close to year round if they have supplemental lighting. It is very exciting to keep hot-hot types from year to year, as they develop a woody trunk and incredible shrubby growth habit.
 Once seedlings have out grown their starter trays it is a good ideas to step them up; in fact it is worth repotting a few times before the final summer pot or garden transplant. The better established your seedlings the sooner they will start to bear fruit. Don’t be shy to crack open the roots each time your plants go into new pots, as this encourages root development and prevents coiled-up roots that can stunt growth. Peppers require excellent drainage, so at each stage be sure to use a well drained, composty soil mix and containers that have drainage holes. One thing to watch for as your peppers get bigger is that that they are watered deeply and evenly, remaining moist but never soggy nor wilty; even a few episodes of wilting can cause permanent under performance and sogginess will destroy the roots. Being the heat lovers they are, you will want to coddle peppers indoors until all chance of frost has passed, then set them out in a warm, bright location. As peppers outgrow their starter pots don’t forget to feed with an organic tomato & pepper specific plant food; this type of fertilizer contains extra magnesium which is important to fruit development in peppers.
Peppers are very reliable when started from seed by home gardeners - particularly if started early in warm, humid and bright conditions. Seize the opportunity and get yours started this month!
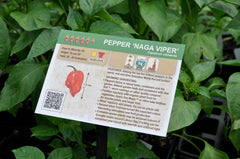
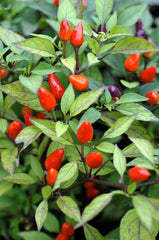
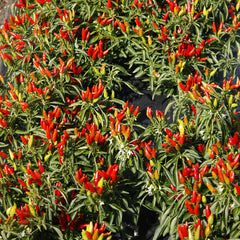
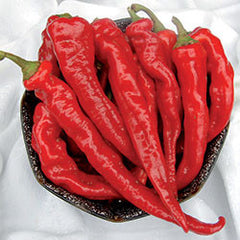
Some awesome hot peppers to start at home:
Dave Hanson has 20+ years experience helping local gardeners find success. He has co-developed Manitoba's only all-natural full service garden centre and had the opportunity to assist thousands of gardeners along the way. Dave has also been very active as a workshop presenter, speaker and media contributor for print and broadcast, including as the CBC Radio gardening columnist for the last 6 years. Dave brings passion, broad experience and a personal interest in getting to the heart of your gardening questions!